Webflow Integration
Last Updated: Jan 12, 2026
Your design is modern. Your publishing workflow should be too.
Texavor connects directly to your Webflow CMS Collection API.
Features
- Image Uploads: We auto-upload your cover image to Webflow's Asset Manager.
- Draft Support: Stage content as "Draft" so your designers can review it first.
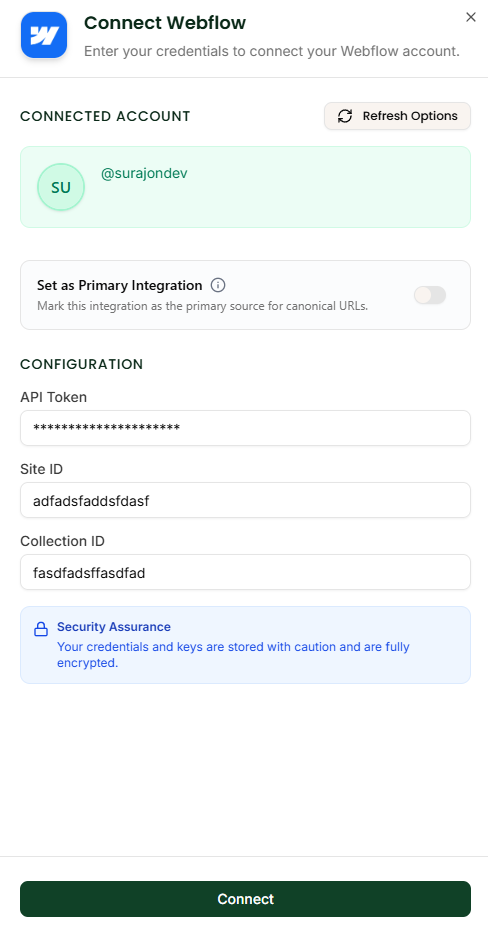
1. Get Settings from Webflow
You need three things:
- API Token:
- Go to Site Settings > Integrations > API Access.
- Generate a new V2 Token. Copy it.
- Site ID:
- Found in your dashboard URL:
webflow.com/dashboard/sites/{SITE_ID}.
- Found in your dashboard URL:
- Collection ID:
- Open the Designer.
- Click the CMS Icon (Database).
- Click the "Gear" icon next to your Blog Collection.
- Copy the Collection ID.
2. Connect in Texavor
- Navigate to Integrations.
- Click Connect on the Webflow card.
- Paste the API Token.
- Paste the Site ID and Collection ID.
- Click Connect.
3. Publishing Workflow
When you click Deploy:
- Select [x] Webflow.
- Status:
- Staged: (Recommended) Sends it to Webflow as a Draft.
- Live: Publishes immediately.
FAQ
Q: Does it support Custom Fields?
A: We automatically map Title -> name, Slug -> slug, and Content -> post-body. Ensure your Collection uses these standard field names.
Support & Resources
Need help publishing your content strategy?
- 📧 Email Support: hello@texavor.com
- 📚 Documentation: Browse the full guide